Home
About
Blog
Contact
Gallery
Menu
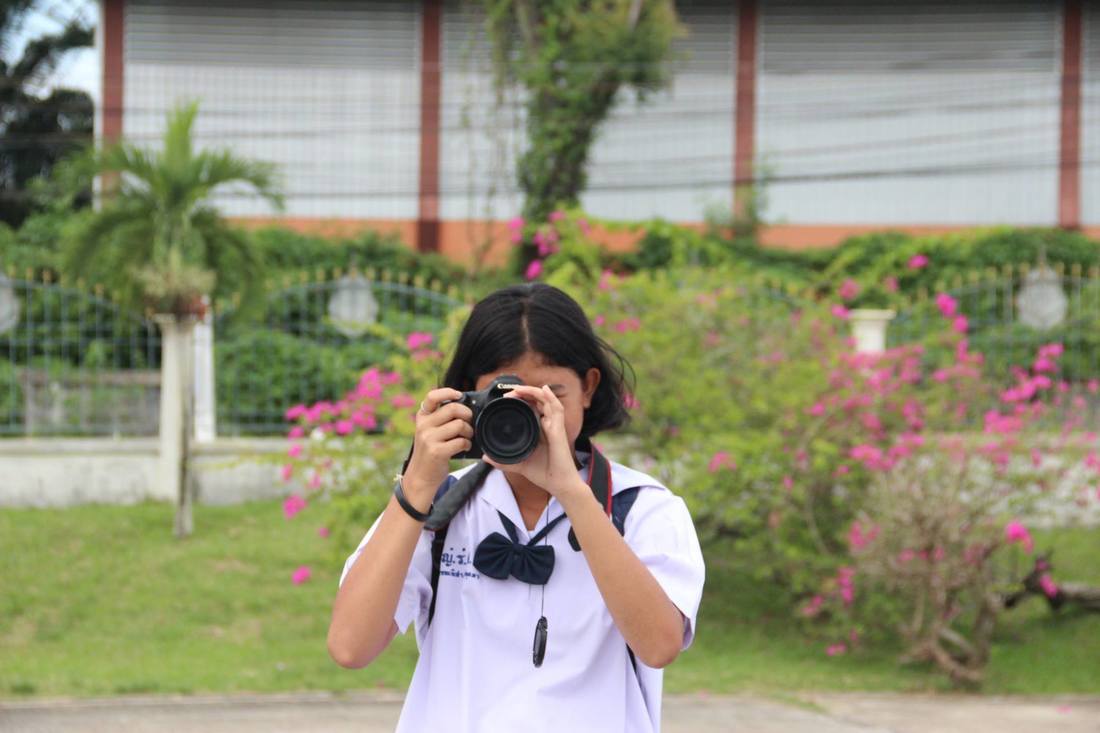
Photos by Wannisa Patumma
Home
About
Blog
Contact
Gallery
Home
About
Blog
Contact
Gallery